This feature requires the WordPress Toolkit to be enabled for your account. All NodeSpace hosting accounts have this feature enabled.
Creating a staging site is a great way to test updates before making them live on your site. Here’s how to create a staging site. Please keep in mind that cPanel is changing themes – we’re showing you both themes here.
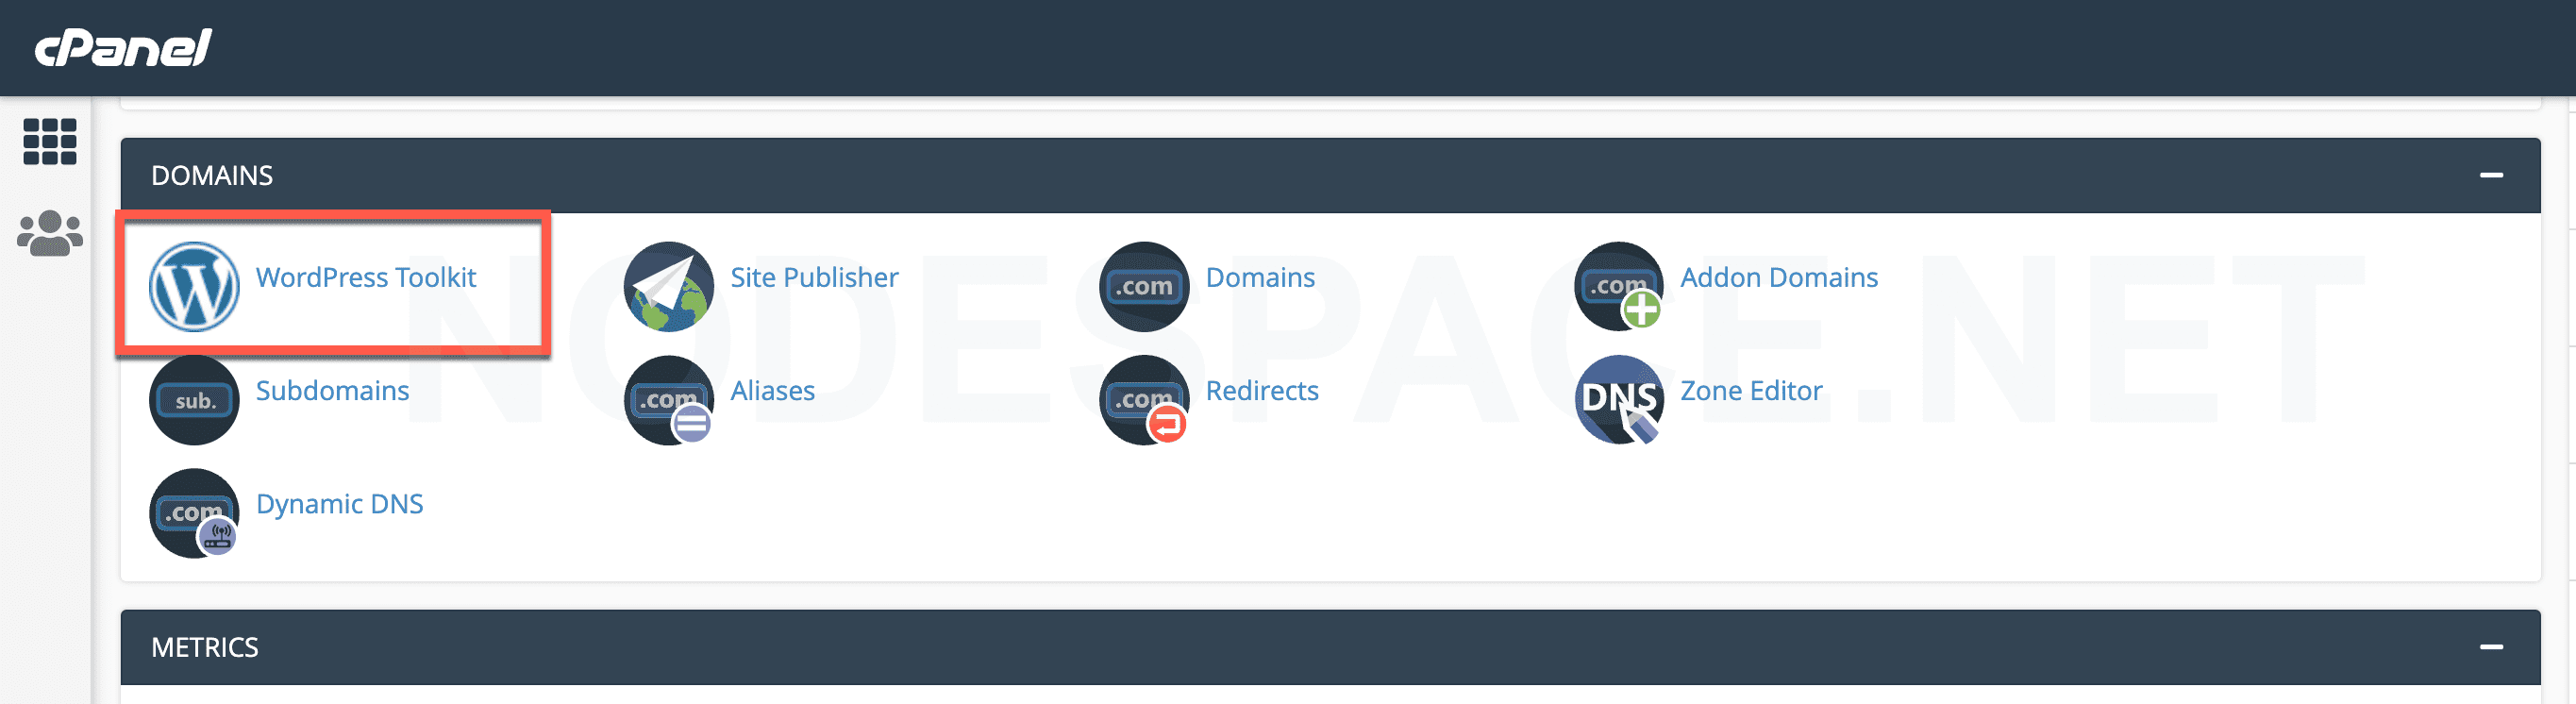
First, click on WordPress Toolkit as indicated.
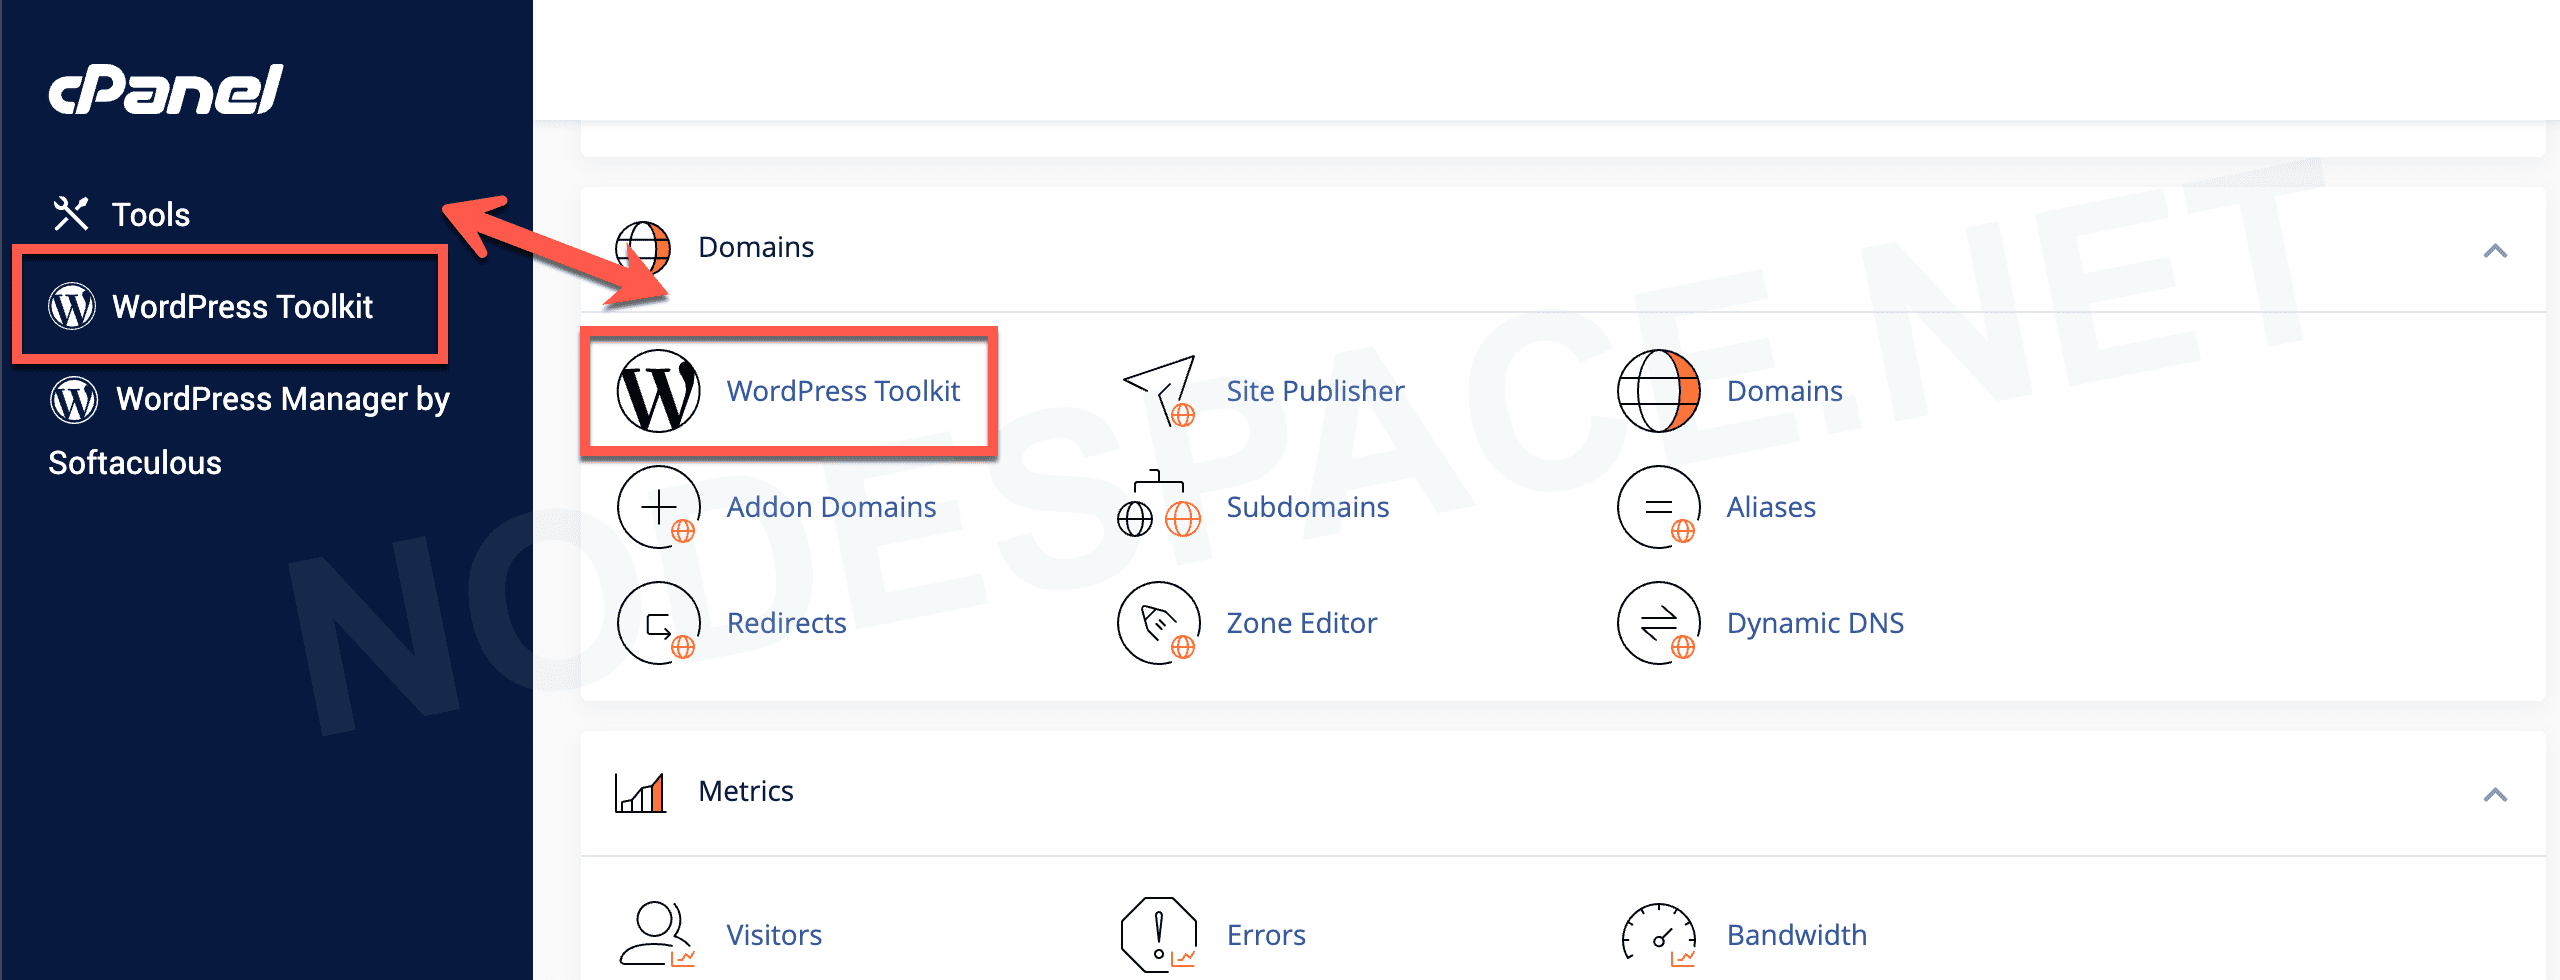
Or if you’re using the new theme, you’ll see two options. Click the top option.
Click on Clone.

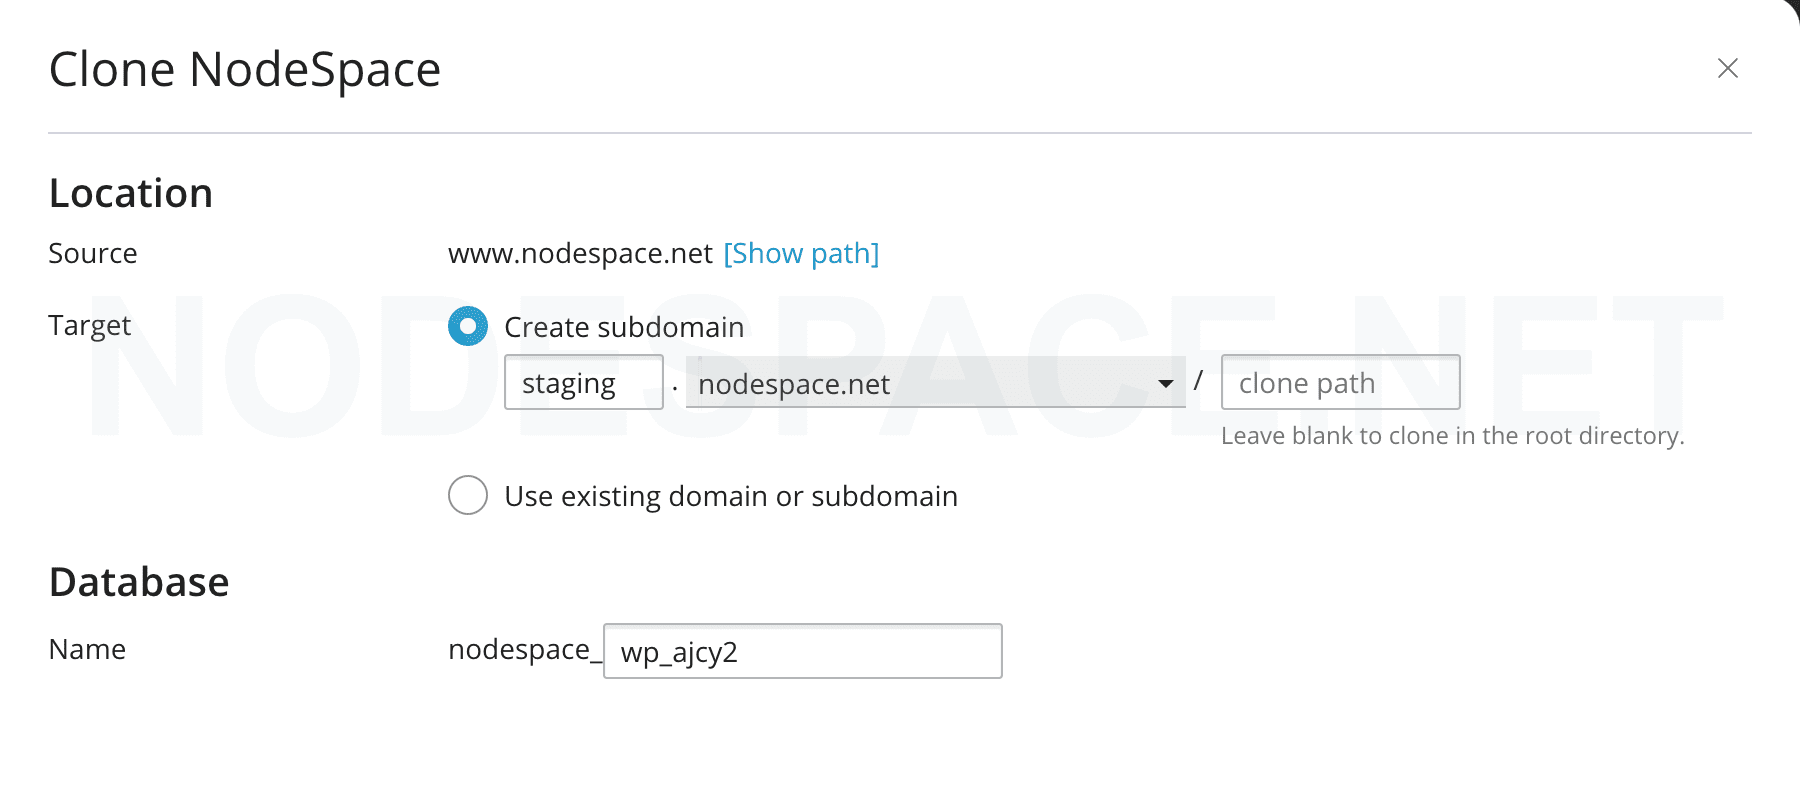
Create a staging subdomain or select another domain on your account and click on clone.
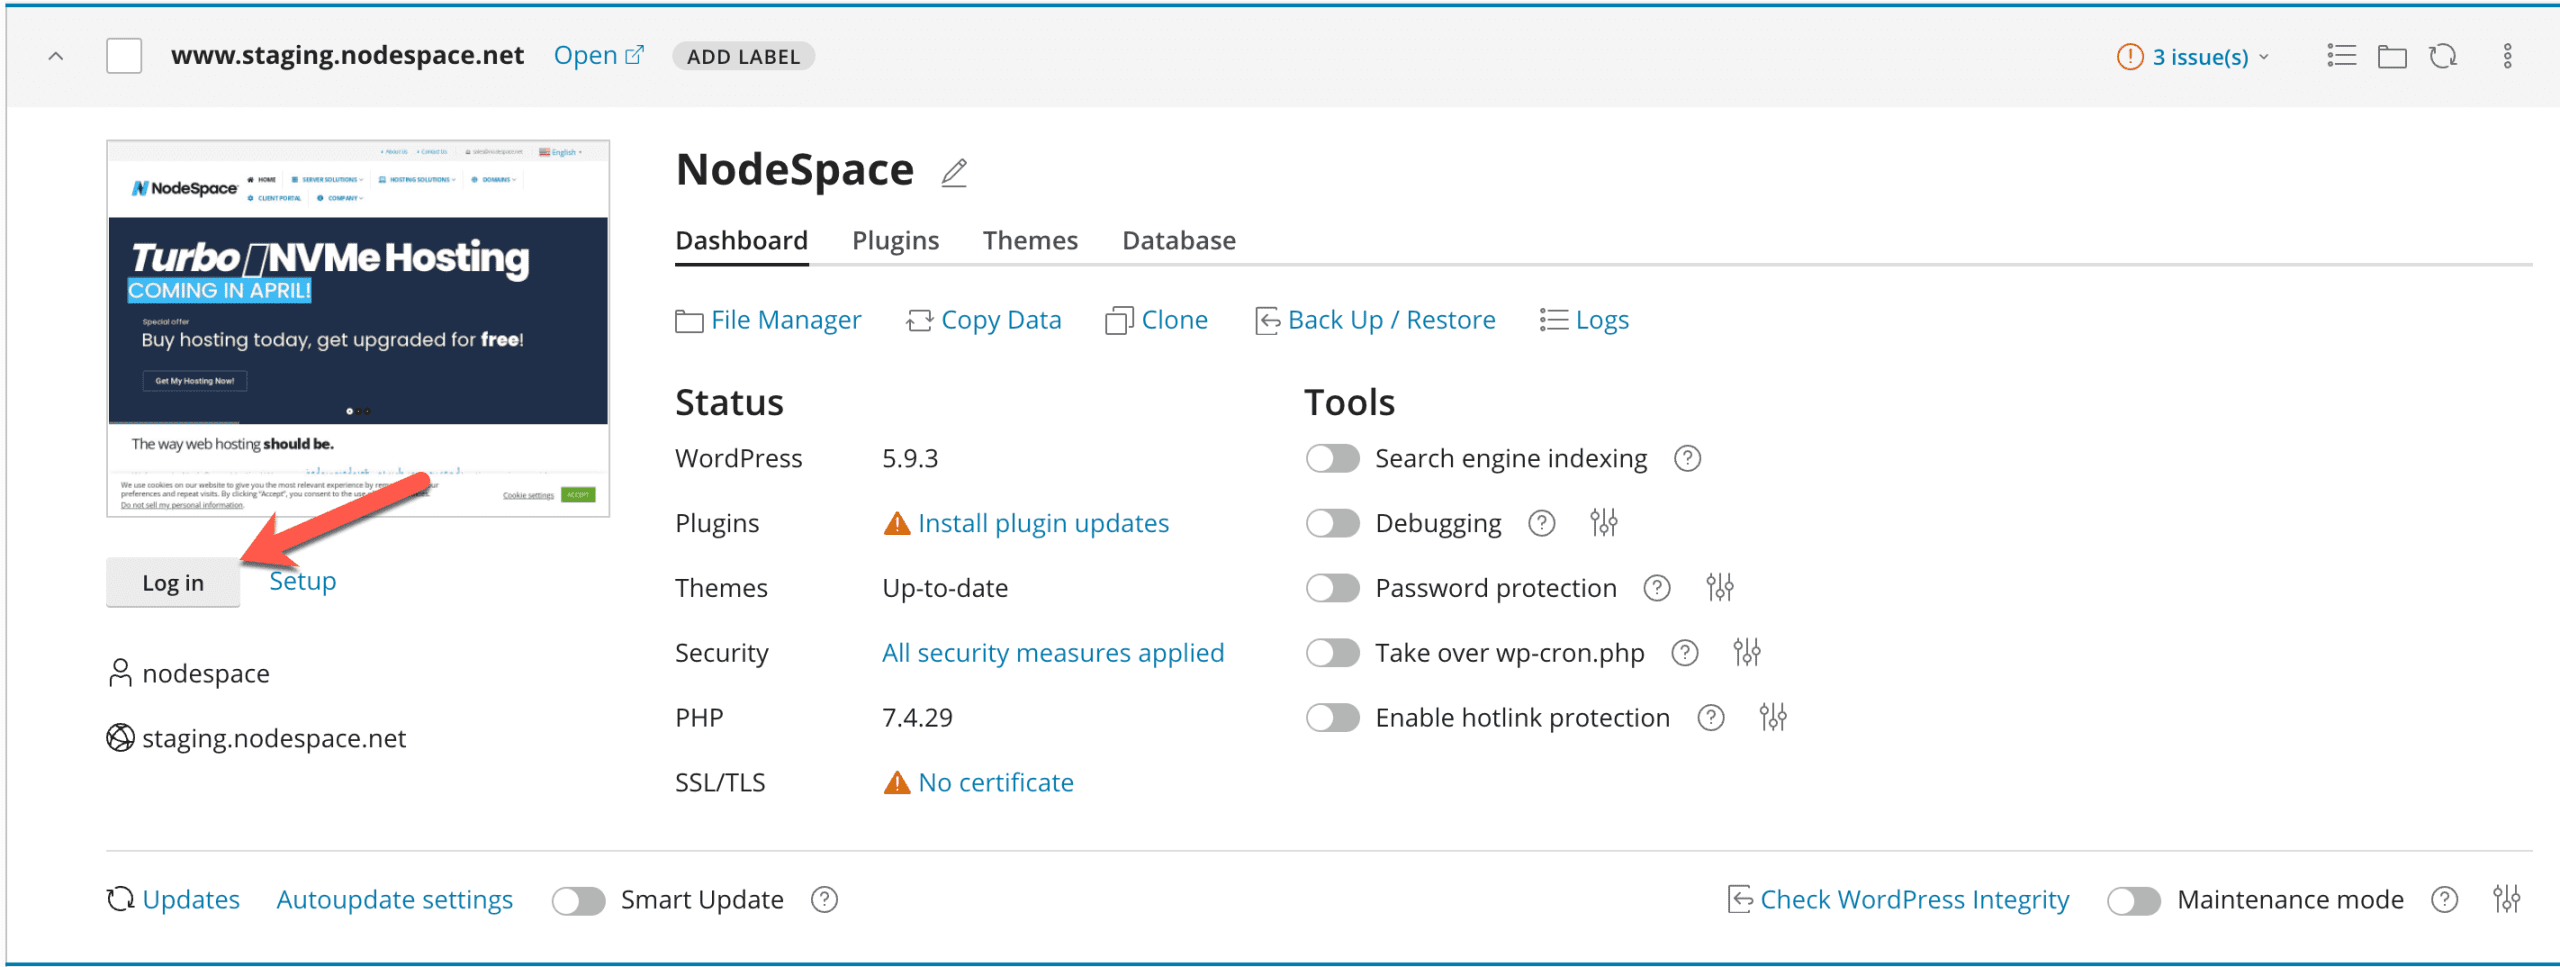
Once the clone has finished, you can then access your staging site either from the WordPress Toolkit or directly.
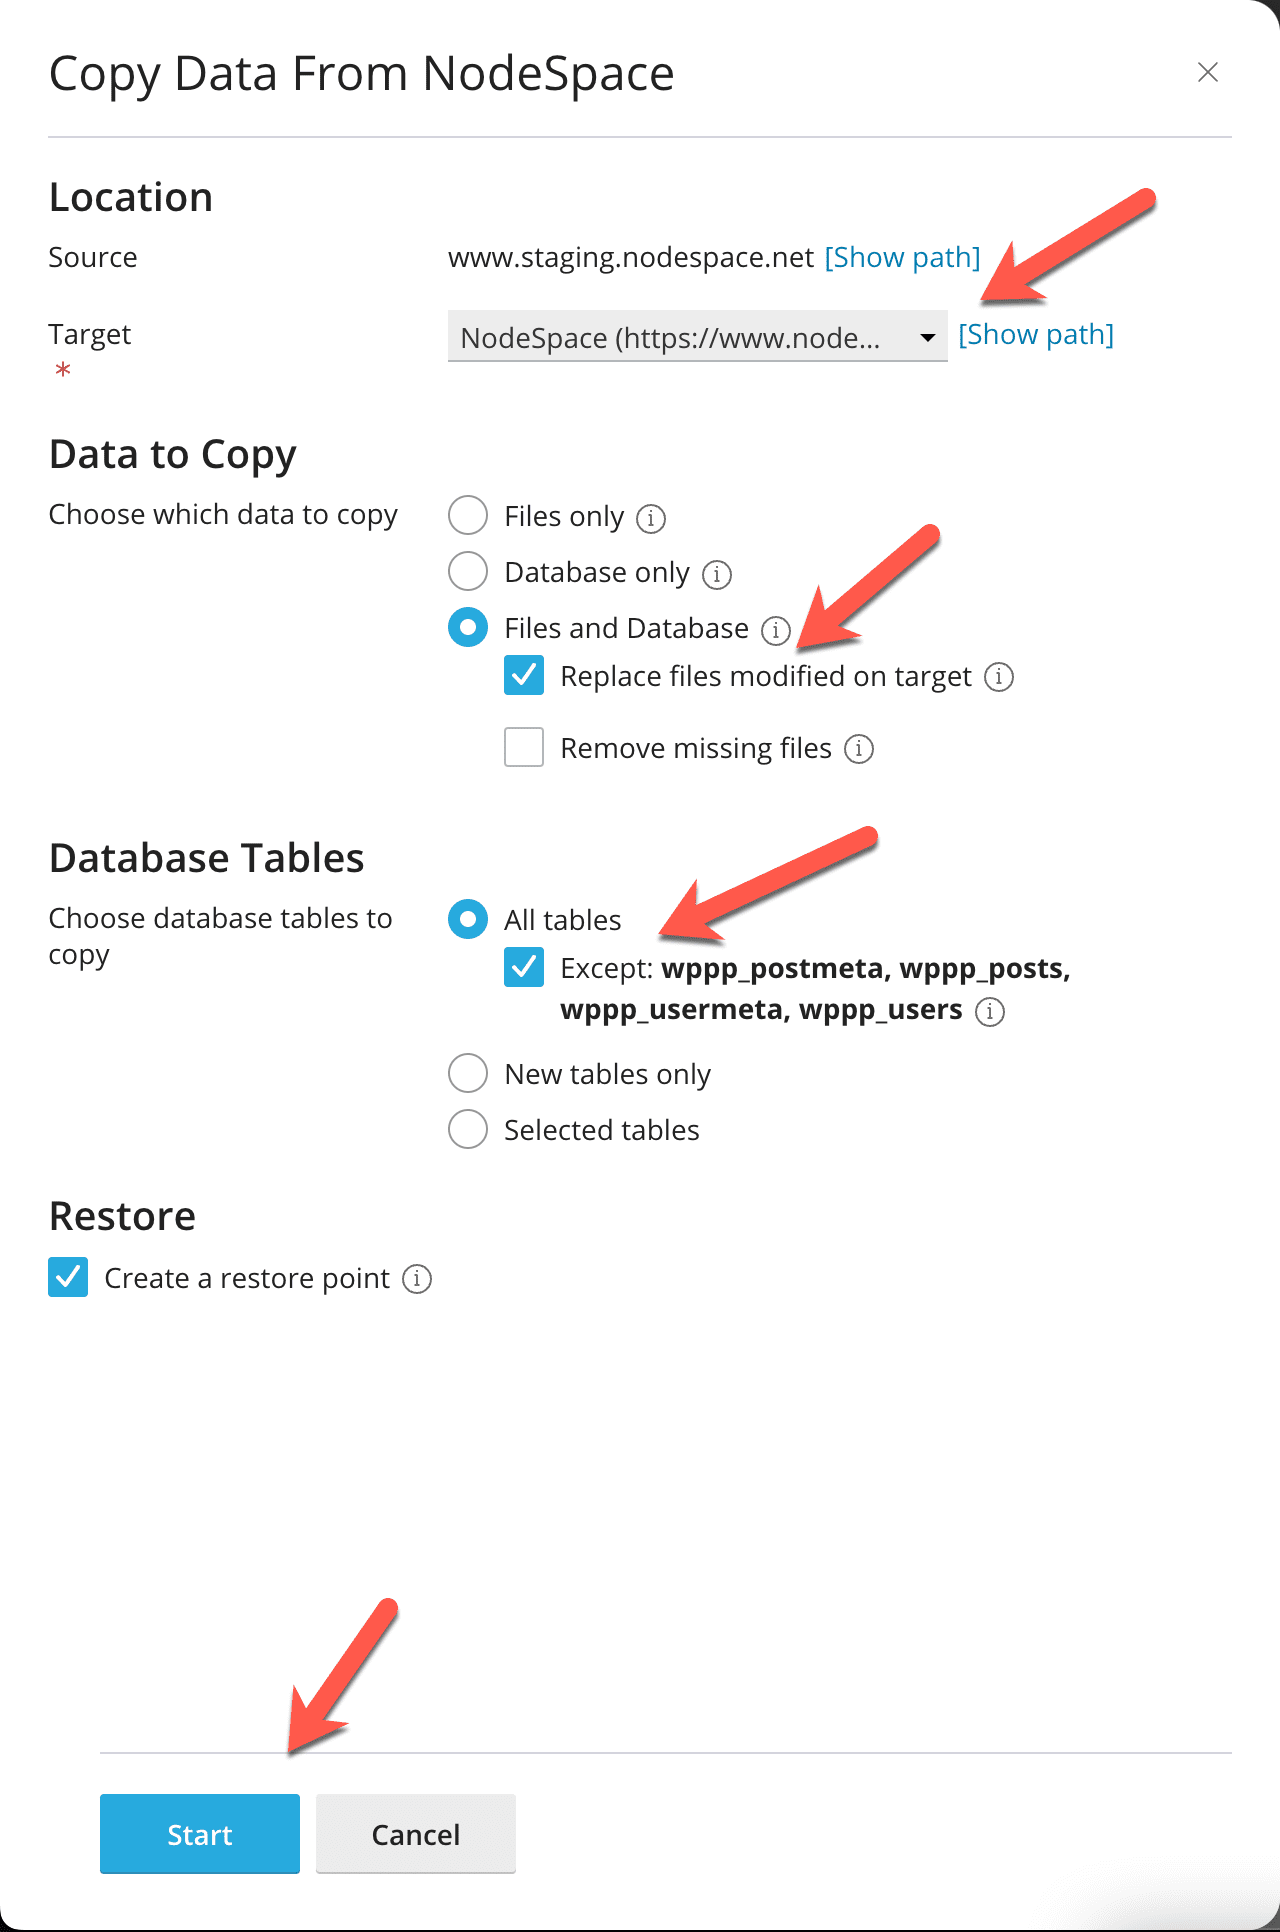
You can now safely make any changes to your site and validate they work. Once done, you can merge your staging site into your live site. Click on Copy Data, select your destination site, what you would like to merge in, and click on copy.
And now your changes will be merged with your live site. If you have any questions, please don’t hesitate to contact our support for assistance.
